Why That Gray Wall Looks Beige in Your Listing Photos
From the outside, real estate photography can look pretty simple. Take a picture with a fancy camera, load it onto the computer, add a little sharpness and contrast, and call it a day. Some listing photography packages are built around a workflow that’s almost that quick. The photographer takes one exposure per angle, lets the camera process it into a ready-to-share JPEG, much like a pocket camera or smartphone does, and does very little editing afterward. Less time at the computer can mean a much lower price.
That price can be tempting, especially when two quotes promise the same number of photos. The difference shows up when you look at a full gallery. In a room with bright windows and warm ceiling lights, a quick in-camera edit can leave you with blown-out windows, muddy shadows, and walls that look yellow on one side and blue on the other. A single exposure can work well in a room with even light. In a room like this, relying on the camera to do most of the editing can leave the photos looking like snapshots.
A single flash can make the unevenness more obvious. Aim it straight into the room or bounce it off the ceiling right above the camera, and you can get a bright patch overhead or a sofa that’s much brighter than everything behind it. Far corners and spaces under cabinets can stay dark enough to look dingy, even when they’re clean. Lighting a deep room or an adjoining space evenly can take carefully placed off-camera flashes and more time on site. Nikon’s guide to flash photography
If a price sounds almost too good to be true, ask what’s included in the edit and look at a full gallery. Pay particular attention to rooms with bright windows. Those are the photos that show what the photographer does when the lighting gets difficult.
And then there’s HDR
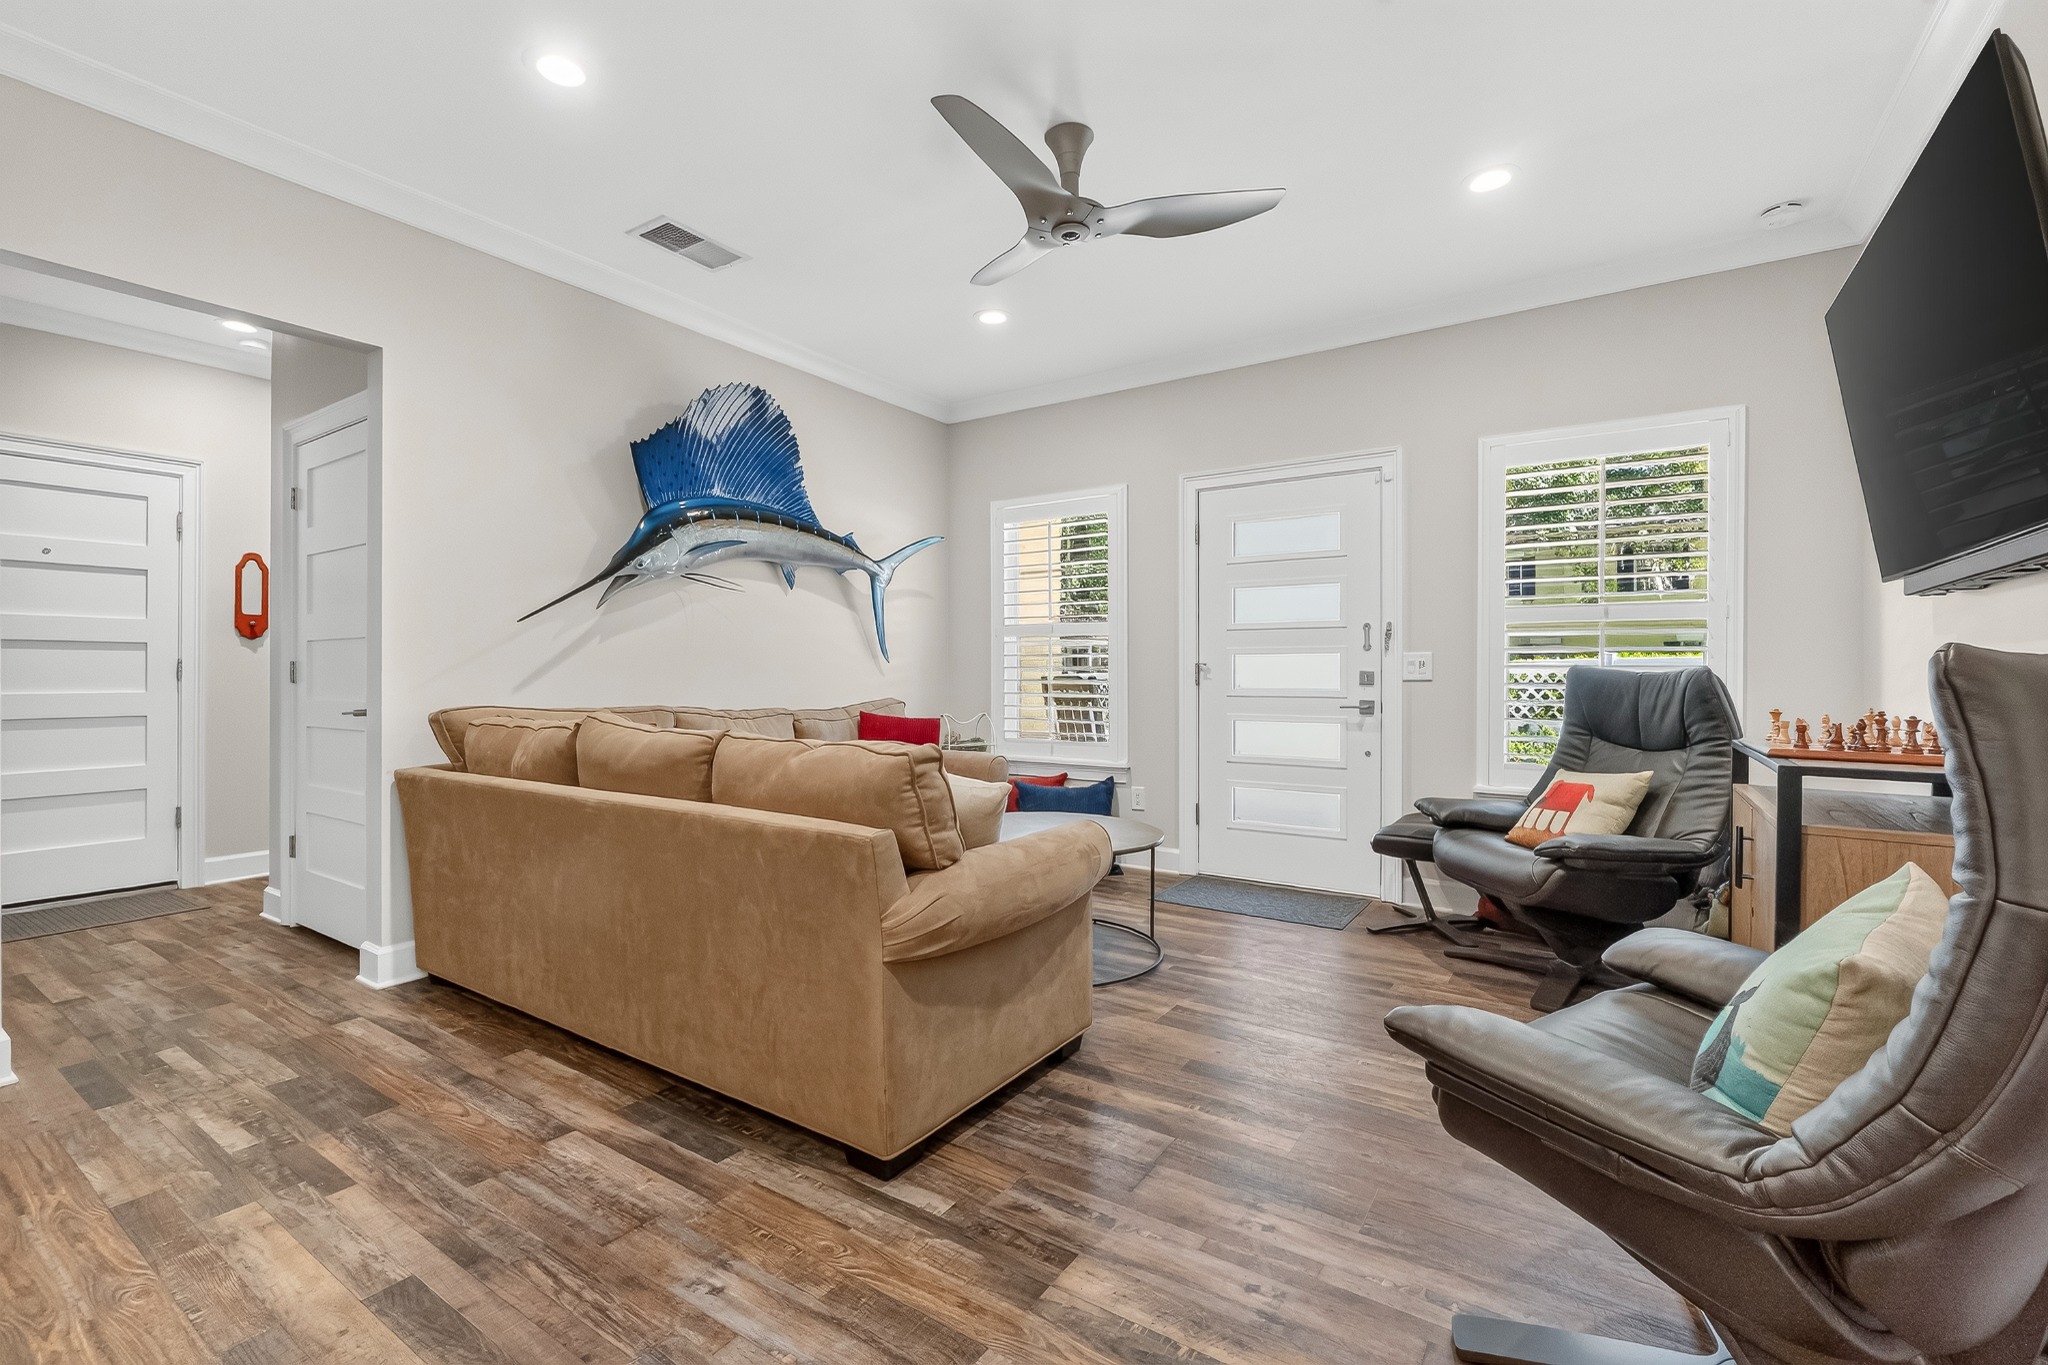
HDR stands for high dynamic range. For the living room below, we wanted buyers to see through the shutters and still make out the texture of the sofa and floor. We set the camera on a tripod and photographed the same view five times, changing the shutter speed between frames. The darker exposures held detail at the windows. The brighter ones showed more of the room.
That series is called an exposure bracket. We merge the exposures to give ourselves more detail to work with, then decide how bright the room should feel, how much of the view to show, and where the light has shifted the color. In the five frames below, watch what happens to the shutters and the sofa as each exposure gets brighter. Adobe’s HDR photo merge guide

Why sunlight and lamps can clash
Daylight and indoor lighting often have different colors. A warm lamp can cast yellow or orange light across a wall, while shaded daylight through a window can look cooler or bluer. Different bulbs in the same room may add still more variation.
Light also picks up color from the surfaces around it. Wood floors, painted walls, furniture, and greenery outside can reflect color onto nearby surfaces. That unwanted tint is often called a color cast.
Your eyes and brain adapt as you look around a room. A camera records all of those light sources together. If we adjust the whole photo to cool down an orange area, another part of the room may turn too blue. If we warm up the daylight side, the lamps may become overly yellow. A single white-balance adjustment often cannot make every part of a mixed-light room look natural.
Can a listing photo show the exact paint color?
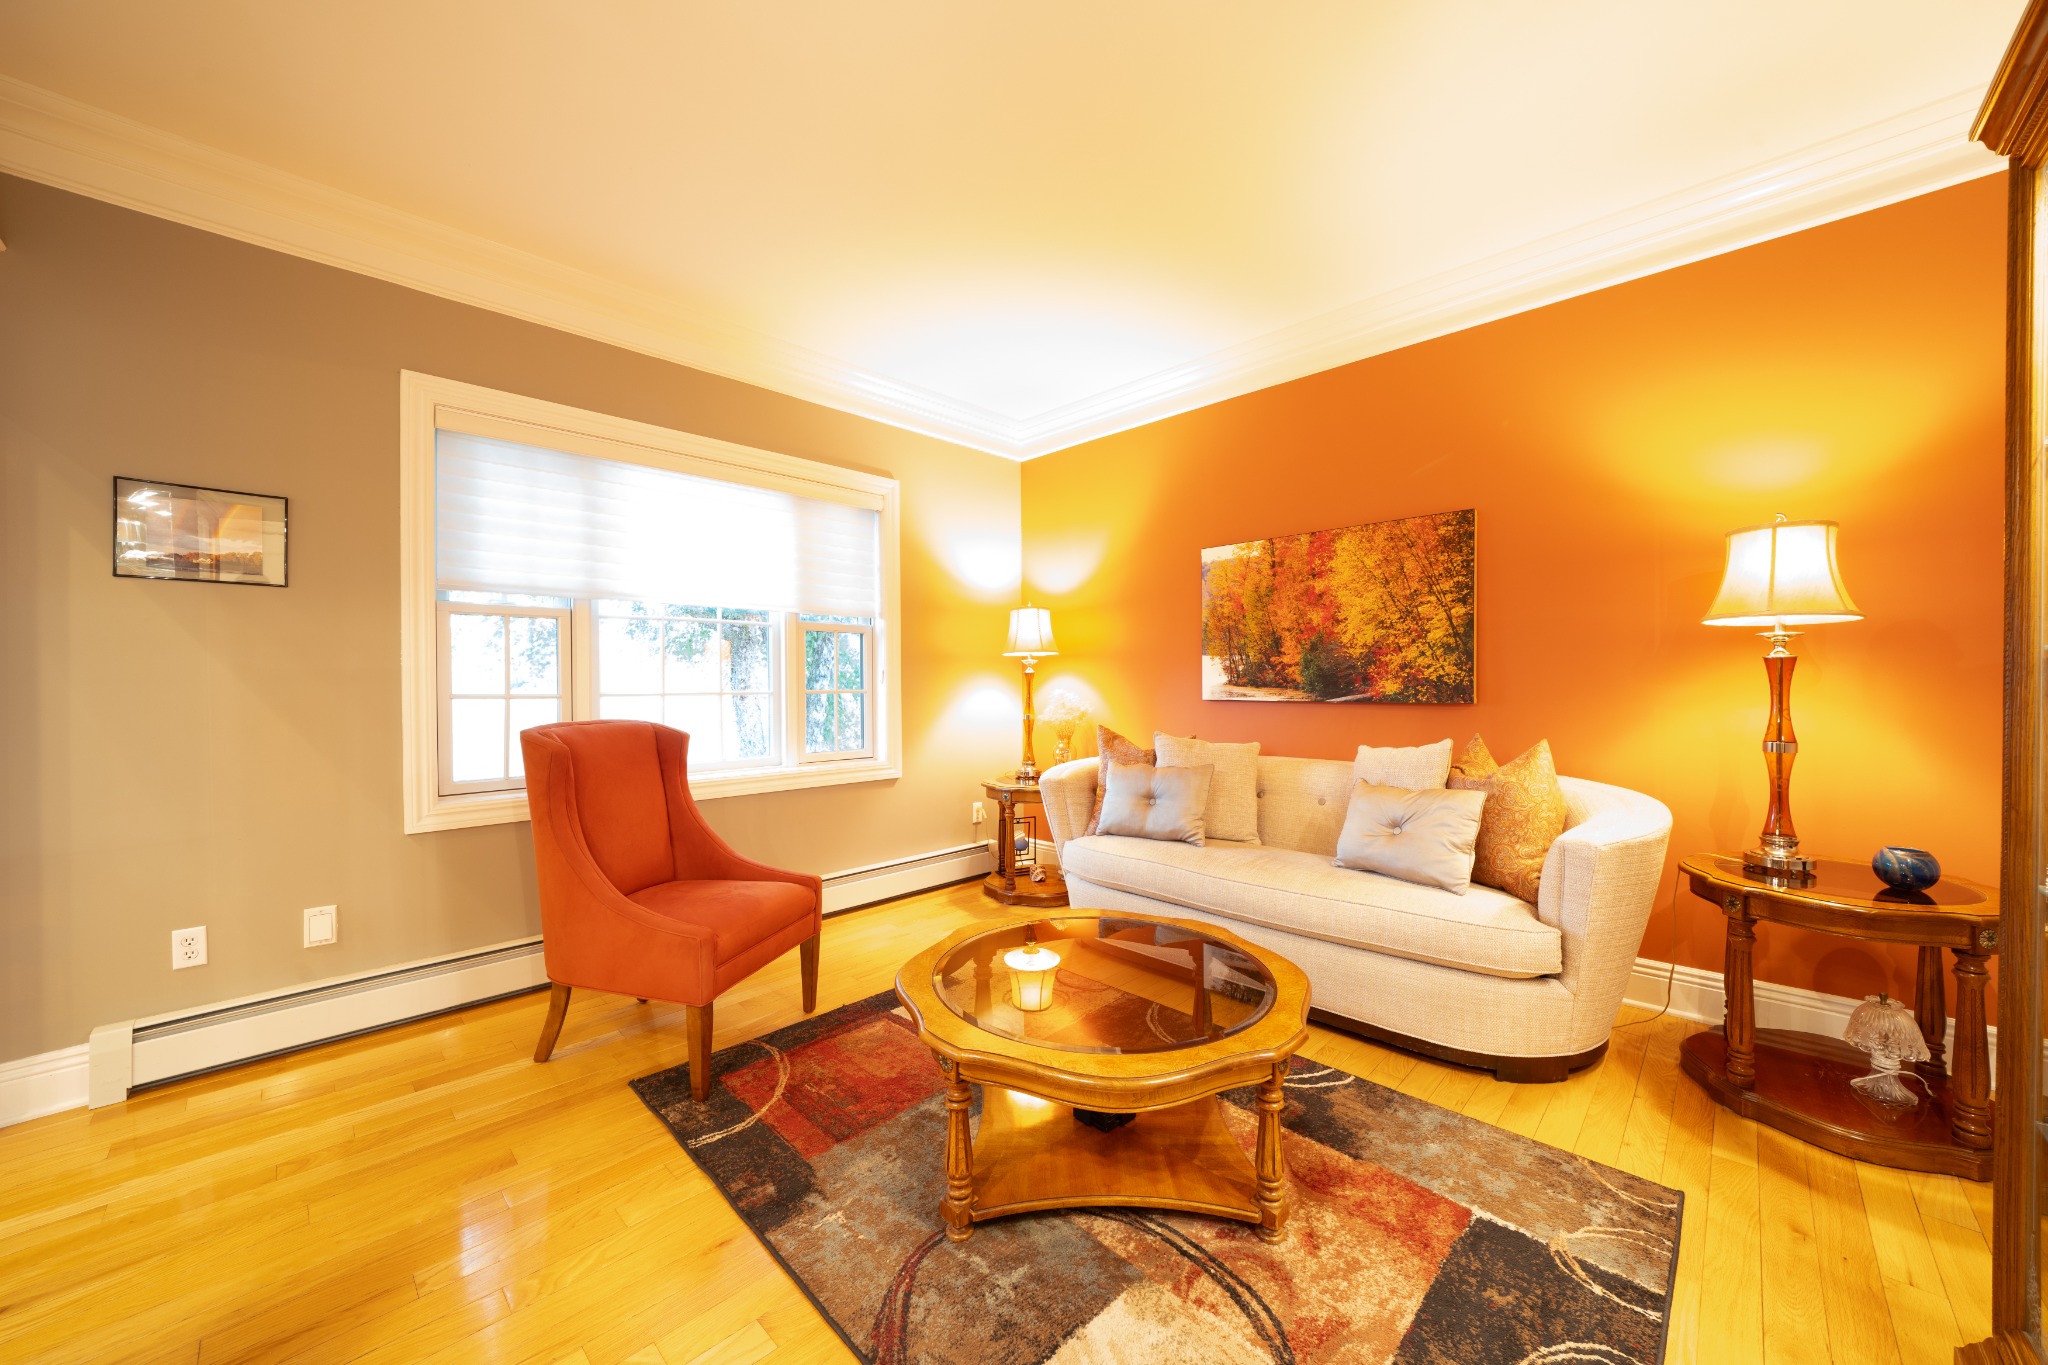
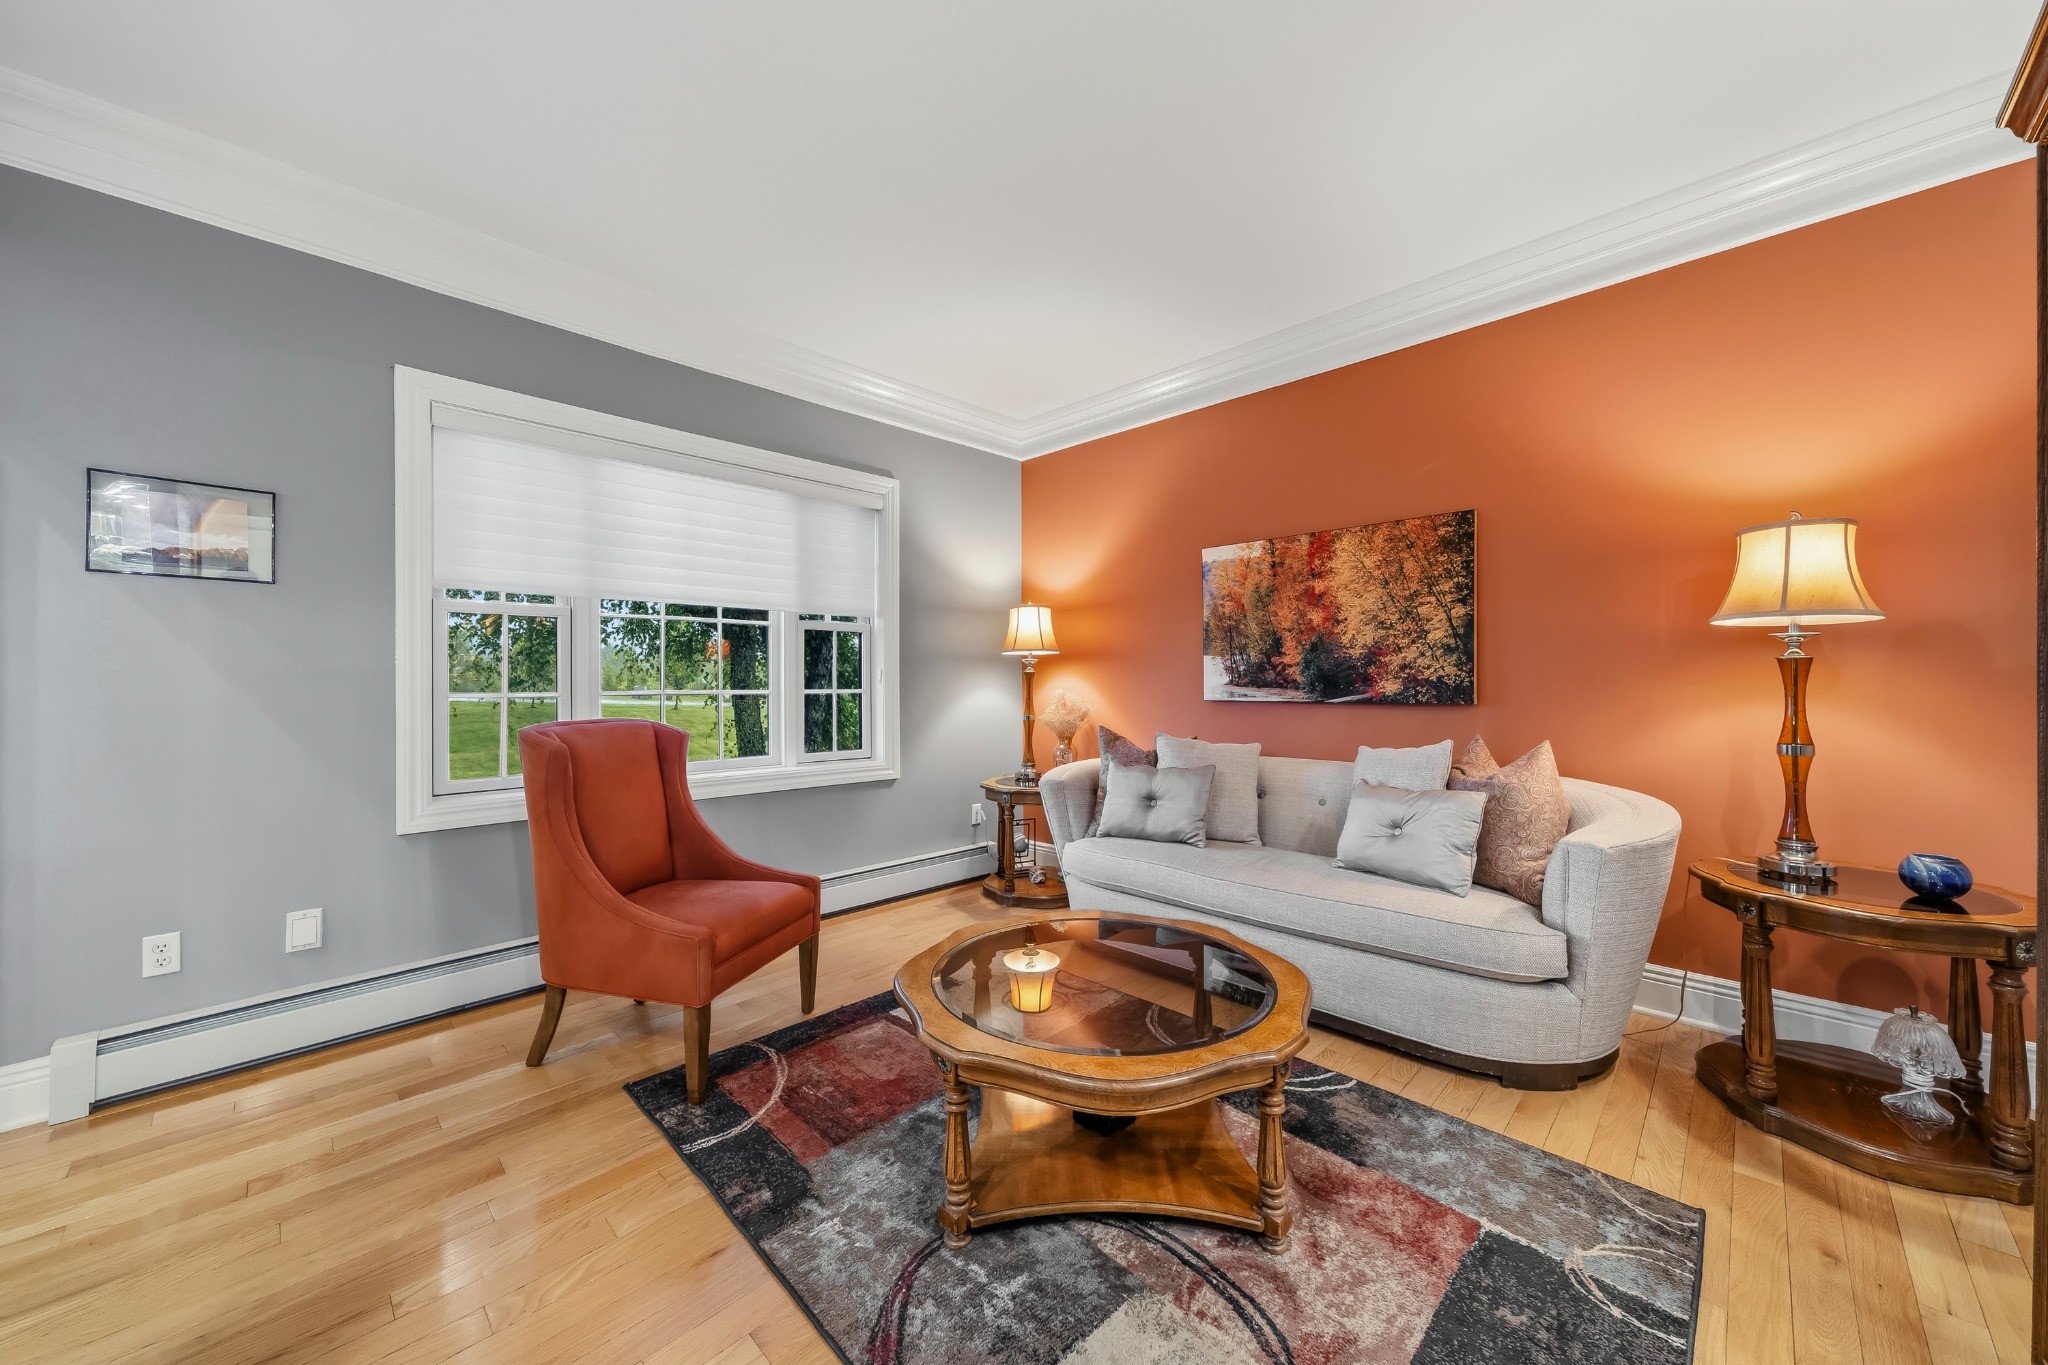
Think about a gray wall in the morning with the lamps off, then look at it again in the evening with the lamps on. You’re looking at the same paint, but the light reflecting off it has changed. In a room with daylight, warm lamps, and recessed LEDs, several versions of that gray can show up in a single frame. We can correct the strongest color casts and bring the room into balance, but no photographer can promise a 100% match across lighting conditions and screens.
Tan and greige can shift too, appearing warmer, pinker, or grayer as the lighting brings out different undertones.
For some projects, a closer color match matters enough to plan the shoot around it. An interior designer documenting a custom cabinet finish or a manufacturer photographing tile for a catalog may need a more controlled setup. That can mean blocking daylight, switching off existing fixtures, bringing consistent lights, and photographing a color reference chart. Matching the lights’ color temperature helps, though two bulbs with the same Kelvin rating can still render the same material differently. The extra setup, reference shots, and editing can make this a substantially more expensive service than a standard listing shoot.
U.S. Department of Energy guide to light and color rendering · ASMP architectural photography guide
Why the same photo looks different on your phone and TV
Two cameras can photograph the same wall under the same light and render it a little differently. Their sensors respond to color differently, and each camera’s white balance and processing affect what you see.
Research on camera color and white balance
Then there’s the screen. It’s natural to expect the same JPEG to look the same everywhere because the file itself hasn’t changed. But your TV might be in a vivid picture mode, your computer monitor might have a cooler white point, and your phone might warm its display at night. Even the light in the room where you’re viewing the photo can affect how it looks. A standard web color profile helps compatible devices interpret the file consistently, while each screen’s settings still shape what you see.
Adobe’s guide to color management · Apple’s guide to display color settings
For a listing, we aim for natural, believable color so buyers can get a feel for the home. If you’re trying to match a particular paint, cabinet, or tile color, check a physical sample in the room under the lighting you’ll use.
What happens after the shoot
Once the exposures are captured, the editing work begins. A typical HDR workflow combines the useful tonal information from those frames, then refines the result so the room reads naturally.
That can involve balancing bright windows with the interior, adjusting white balance, correcting color in specific areas, straightening vertical lines, and checking for unwanted effects from blending. Small details matter: a bright outline around a window, an unnatural transition across a wall, or a reflection that has become too strong can distract from the room.
The whole set also needs attention. A wall should not swing from cool gray in one angle to yellow in the next without a lighting reason. Keeping the photos consistent takes judgment as well as software.
We also incorporate AI-assisted tools available in programs such as Photoshop and Lightroom. These tools can help with parts of the workflow, while the goal remains the same: a clean, natural presentation of the property.
Why the editing takes time
The time needed depends on the room and its lighting. An evenly lit space is usually more straightforward than a room with strong sunlight, several types of bulbs, reflective surfaces, and deep shadows. There is no useful one-size-fits-all number for every photo.
Capturing the brackets is only one stage. Processing, color correction, checking details, and reviewing how the images work together all contribute to the finished set. A quick merge may bring the exposures together, but the result still needs to be evaluated.
When you look at a finished listing photo, you are seeing the outcome of both the photography and the work that follows it. That care helps buyers focus on the home instead of being distracted by the lighting.
Most buyers will spend only a few seconds on each listing photo. In those few seconds, they should be able to tell how the rooms connect, where the daylight comes in, and what it might feel like to live there. That’s what we’re thinking about from the moment we set up the tripod to the final review of the gallery.